Come explore the world of stamping with me!
Showing posts with label Cheers to You. Show all posts

02 June 2011

Tart & Tangy Polka Dots/ Color Throwdown #144


Sorry for the lack of post yesterday. It was the release day for SU's Last Chance List & I spent the morning figuring out which of my favorite sets will be gone at the end of the month. Well, that and celebrating all the fun new stuff that is coming our way in the 2011-2012 Idea Book & Catalog. I should have toys to make pre-view projects soon!
Today's card is a goodbye to two of my long time favorites: Tart & Tangy and Cheers to you. The fun summer colors from the Color Throwdown were a perfect match for a Tart & Tangy card--- Melon Mambo, Pumpkin Pie, & Certainly Celery. I love making Gate Fold cards with the little citrus slices from this set. For the background flaps on this one, I used Shimmer Mist on the Mambo polka dots & then ran the whole thing through the Big Shot after I adhered my dots. The natural sentiment for this card came from the Cheers to you set, so I'll include a photo of the inside too. Typically, all my retired sets end up in my big retired sale in July, but Cheers to You is one of those I'm not going to be able to part with...at least not for a good long while. Make sure you get yours while there is still time!

25 February 2011

Glitter Windows Cheers/ Curtain Call 70


I have such a great time trying out new techniques and new challenges! Today I decided to combine those good things into one card. Over at the Curtain Call Color Challenge, I found a fun group of colors for this snowy afternoon: Tangerine Tango, Tempting Turquoise, Pear Pizazz, and Whisper White. A while back, I was surfing through the tutorials over on Splitcoast and found one for a Glitter Window Card. Naturally, I decided to pair these two up! The result is super fun although I have to work on my glitter photography. Jeff says I need to add a second light source. We'll see if that works next time...I never claimed to be great at that part of this whole deal. I'll include a close up of one window so you get a better idea. Just pretend the frosting looks all sorts of sparkly, okay? :) Packing tape is the key to this effect and it's super simple to do. I think it will look excellent on Christmas cards too. I can't wait to try it then. Today I paired up one of the sets from the Idea Book and Catalog that's free from Sale-a-Bration (Tart & Tangy) with a good time favorite (Cheers to You). After all, there are those of us out there that will agree some four day weeks feel even longer than those that last a full five! Happy Friday everyone!

12 October 2010

Cheers to You Invite


I wish I knew a better way to photograph sparkles because this card is full of them! It's the first time I've ever really worked with vellum and I wanted to see what would happen with a clear yet glittery emboss. Overall it worked well, I just had to be really careful not to burn the vellum.
A friend of mine's daughter just got engaged and they would like for me to design engagement party invites. That's a new one for me, so I'm just starting to play around a bit to give them a few ideas. This one is fun because the glasses just peak out from the inside of the card & they too have shimmery embossing. Then, there is still lots of room for the essential info on the inside. I also took the circles from the vellum and gray that I punched for the window & added them to the inside of the card. It gives things just a little extra dimension in there.

17 September 2010

Happy Birthday Joe!


As you can tell from the title for today, it's time for another birthday! Today the birthday boy is a friend of ours with whom I've shared many a much needed beer either after a school board meeting or while repairing something in the house. So, I knew a Cheers to You card was very much in order for Joe.
I had great fun using my Stamp-a-ma-jig to create a circular sentiment. I hadn't done that before, but thought that the new 2 1/2" Circle Punch gave me plenty of room to work with. Then I got to go dimensional crazy with the beer mug because I know I'll be hand delivering this one. So, I used Crystal Effects on the mug & a mixture of glitter & embossing powder for the foam. If you apply this mix using the liquid Tombow glue & heat with a heat tool then it gets all sorts of bubbly and fun.
I hope Joe likes it!

29 April 2010

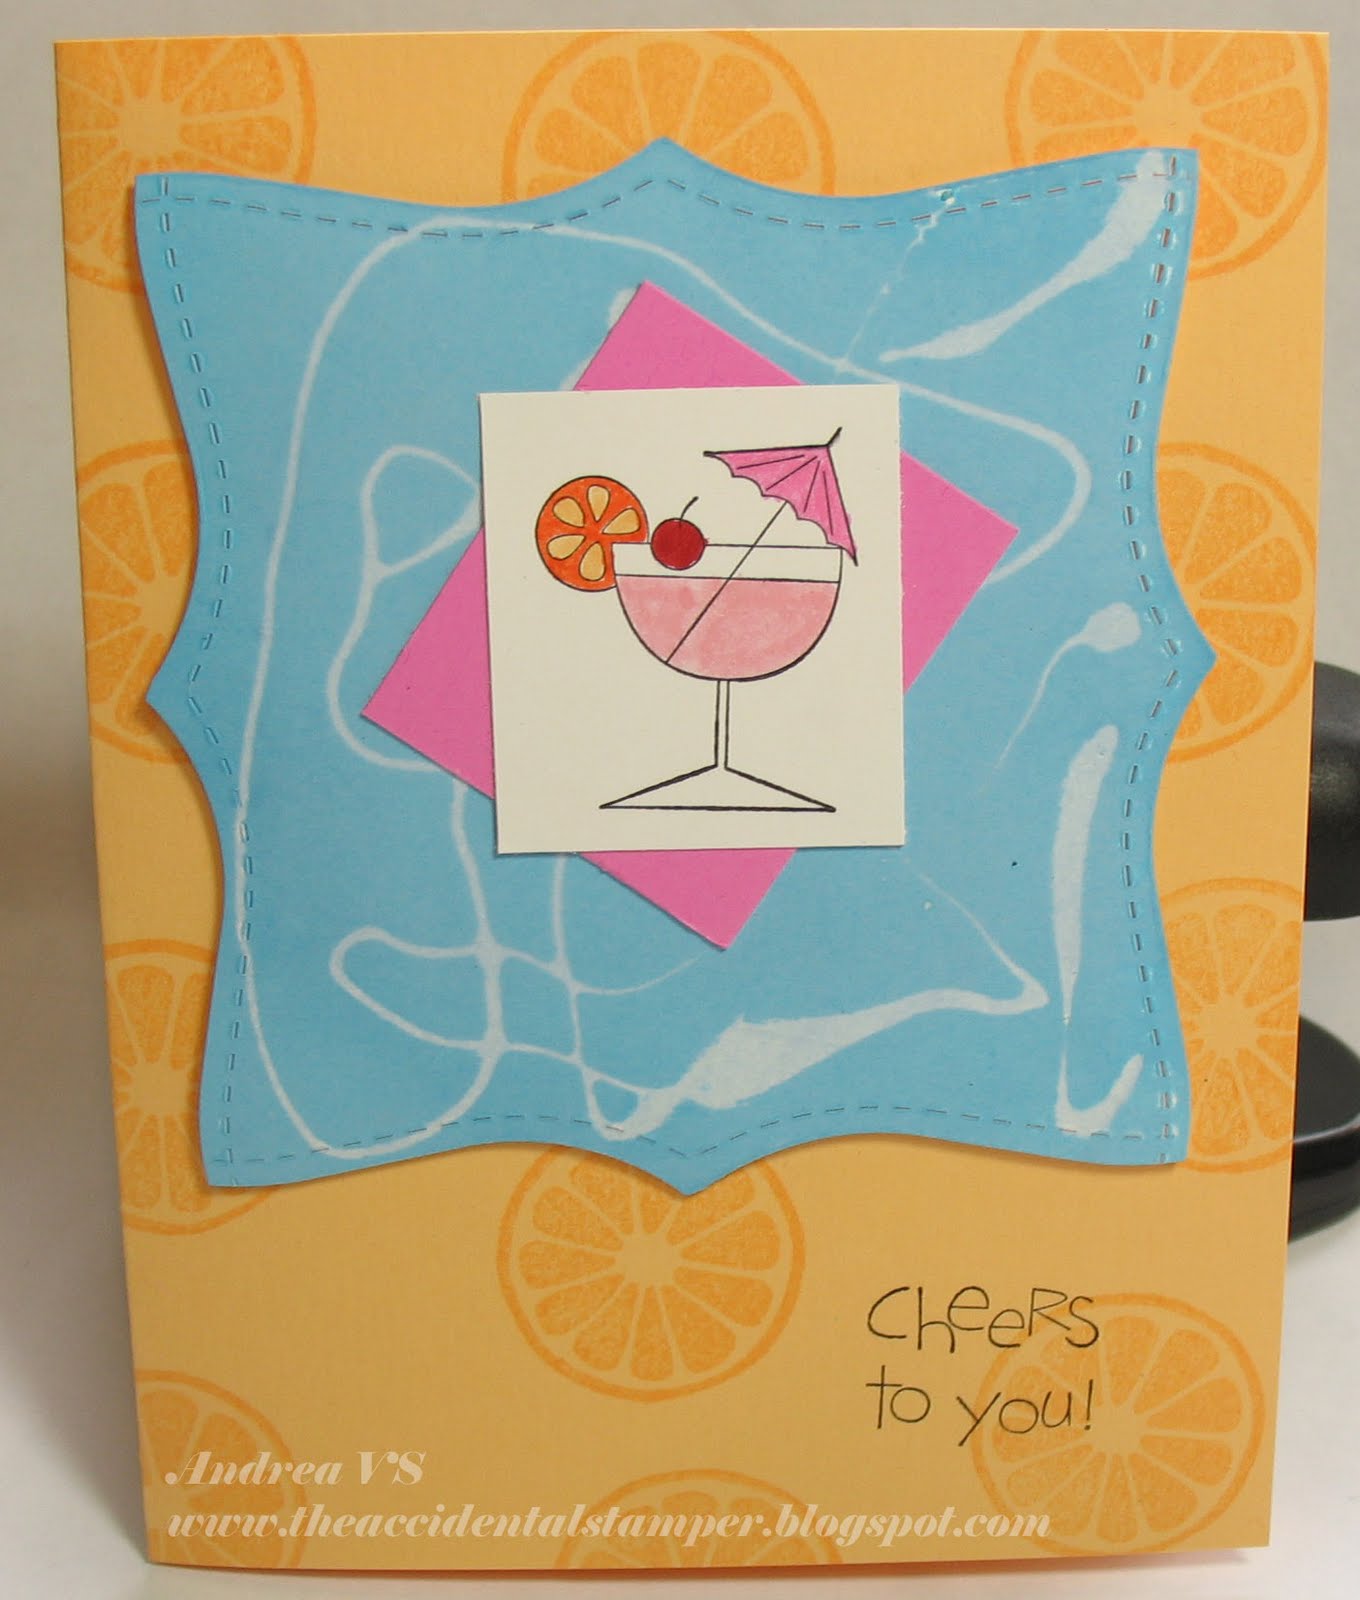
Wacky Cheers to You


Well, this card almost didn't happen. I was all excited to try out the Rubber Cement Resist tutorial I found on Splitcoast, but it didn't go quite as planned. I think my trouble was due to using regular Whisper White paper rather than a super glossy type. At any rate, frustration almost won.
I didn't give in though & I am actually pleased with the end result. The snow outside made me want to think tropical thoughts & this card does that. I know that after a decade of life in Colorado I should be used to eighty degrees one day & snow the next, but it still throws me for a loop. At least I'm headed for warmer climes next week. Don't worry, my posts will continue even while I'm away!